 Sprout
Admins can instantly import and export the canned responses to manage them better. You can import and/or export an entire folder of responses or specific responses. With the exported responses, you can easily audit and analyze them and make changes if required, and then do a simple import to update the canned responses for the agents' usage. This will also help businesses maintain agent productivity by minimizing their need to search, check and edit outdated canned responses.
As an admin, you may want to:
- Export all your canned responses for auditing purposes
- Create multiple new responses and update the existing ones with ease
- Manage who gets the privilege to export/import these responses - be able to grant and remove access
- View reports/information for the number of responses exported, newly imported, and changed while importing
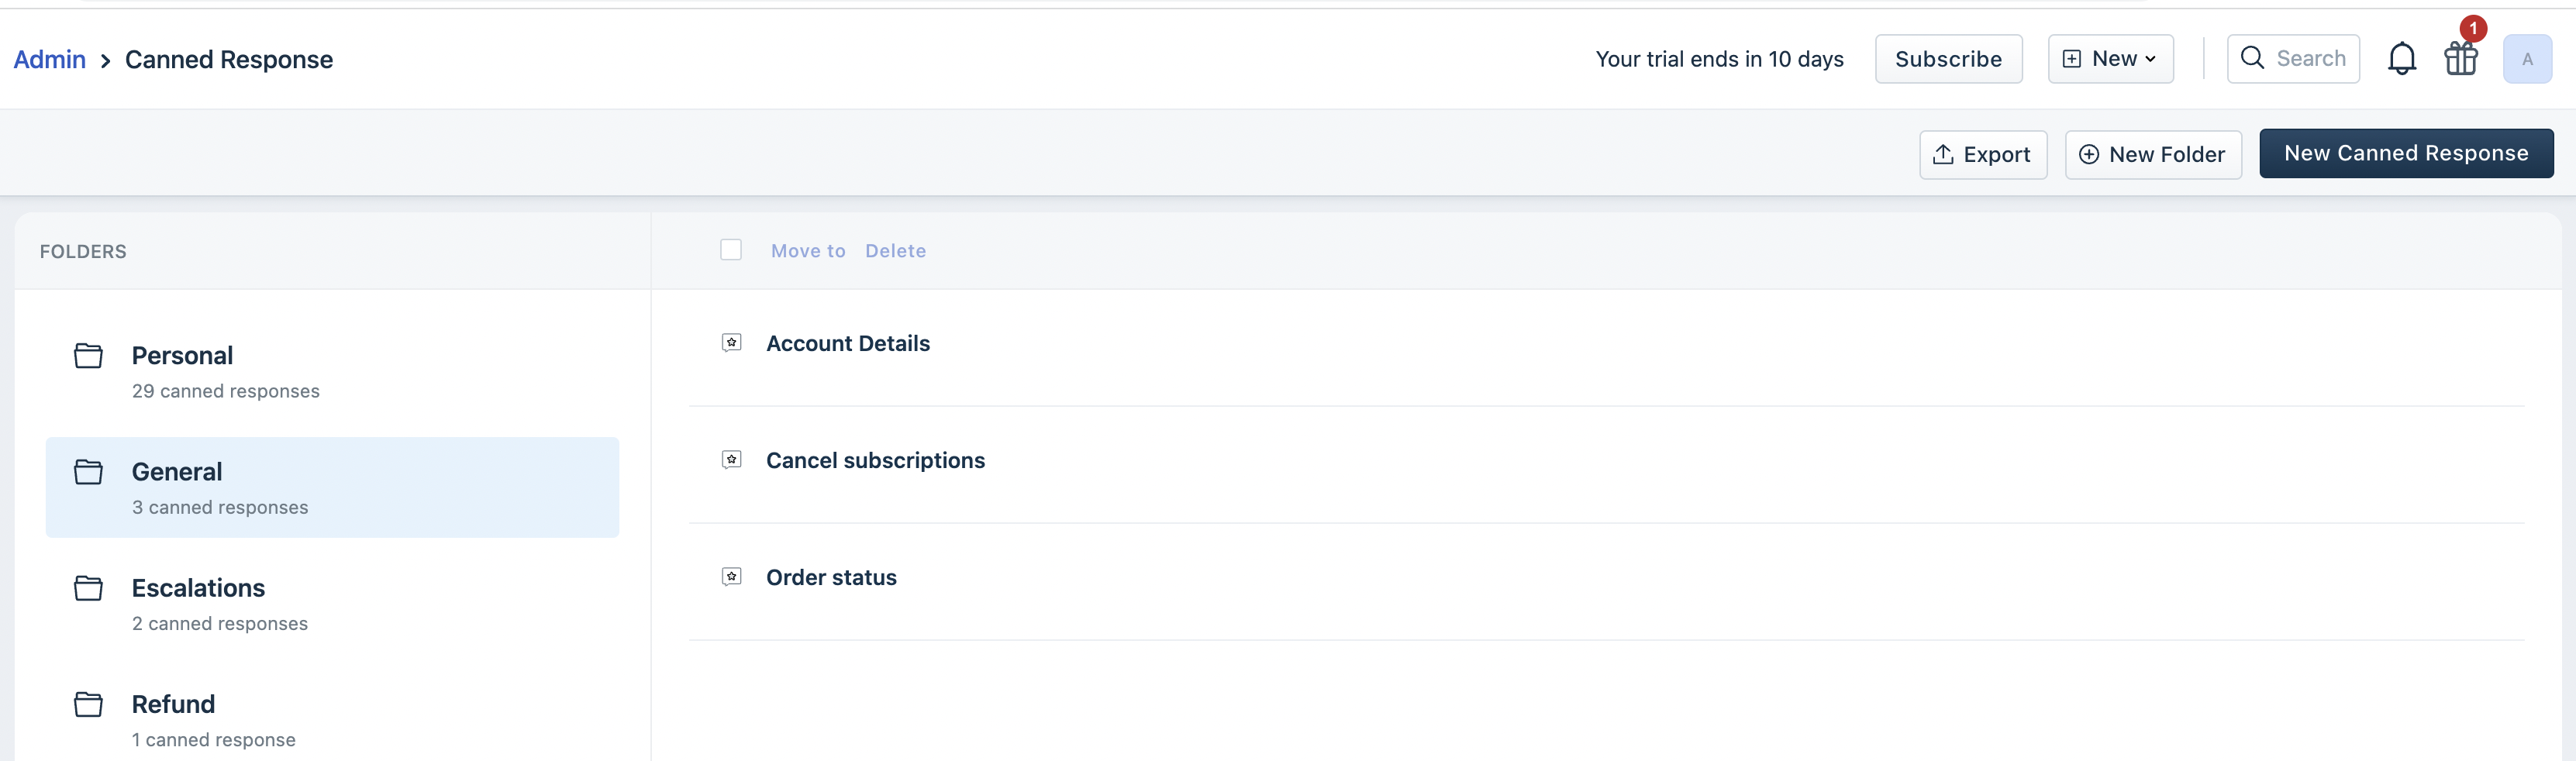
Note: Admins will only be able to view 30 canned responses per page.
As an agent, you will have a quickly accessible, readable view of all responses with easy and quick search either in the product or through an excel sheet.
TABLE OF CONTENTS
Sorting Canned Responses
You can sort the canned responses within each folder to locate the required canned responses faster and for ease of analysis. There are six sort options available to Admins today:
- Title (A-Z) Ascending
- Title (Z-A) Descending
- Date Updated Ascending
- Date Updated Descending
- Date Created Ascending
- Date Created Descending
Exporting Canned Responses
- Log in as an admin
- Navigation:
- For Freshdesk, go to Admin > Agent Productivity > Canned Responses
- For Customer Service Suite, go to Admin Settings > Configuration and Workflows > Ticket Canned Responses
- Select the folder from where you want to export the responses
- You can export the responses from all the folders in your account or select specific responses from a folder
- Click Export Selected Responses and choose how you want to export the responses

- Click Export again
- On successful completion, the response file will be sent to your registered mail id as a downloadable link

- On successful completion, the response file will be sent to your registered mail id as a downloadable link
Note: The link will expire 15 days from the time of export.
Importing Canned Responses
- Log in as an admin
- Navigation:
- For Freshdesk, go to Admin > Agent Productivity > Canned Responses
- For Customer Service Suite, go to Admin Settings > Configuration and Workflows > Ticket Canned Responses

3. Click the Import button to upload your .CSV (as of now, only .CSV is supported)
- For creating new canned responses, you can upload a .CSV file (sample CSV attached that you can use) with just the title and content fields updated - this canned response will be available in the 'Personal' folder
- The canned response content should be mapped to the 'Content HTML' column
- For maintaining existing canned responses, you can export the existing canned responses into a CSV file, make the required changes, and then import it into Freshdesk
- Do NOT change the 'Canned Response ID' field when you update the details on the export sheet, as that is the unique ID with which the system will do the update
- You can move canned responses to a different folder by updating the Folder Name in the CSV file
- Use the Visibility column to set the visibility to 'Available to all' or 'Available to groups'
- Mention the group names exactly how they are spelled under Admin > Groups, and separate the groups with two piping symbols - ||
- The canned response is updated based on the 'Content HTML' column - any changes to text and formatting should be made to this column and imported
Note: If you are mentioning the Folder name, you must mention visibility. Otherwise, the import will fail.
- Once an import is done, an error report/log report will be sent to the Admins
- This error report will have details of the successful uploads and a link to a CSV file calling out the errors for the canned responses that failed to update
Common import scenarios
The following are common scenarios and corresponding success/failure reports:
Note: Your import file size can be a maximum of 100MB only.
Click here to learn about canned responses usage & analytics.