
 Community
 Video Library
 Agent Training
 Freshservice
 Freshdesk
 Freshchat
 Freshcaller
 Freshsales
 Freshteam
 Freshworks Neo
 Freshsurvey
 Growth
TABLE OF CONTENTS
This article explains dialogs, the building blocks of bot flows, and how you can add, format, and manage them to control the bot conversations.
Prerequisites
Ensure that the following requirements are met:
- You have admin permissions to access and edit bot flows.
- An existing bot flow to add the dialogs
Overview of dialogs
A dialog is the basic building block of your chatbots. You can create multiple dialogs and combine them to build a flow. When triggered, the bot moves through each dialog in the flow in sequence. You can redirect the bot to a dialog in the same flow or a different flow using conditions, or stop the flow using an action.
You can configure a dialog for any of the following outcomes:
- Send a message to, or collect input from, your customer.
- Trigger an action.
- Run logical workflows based on conditions.
For example, a simple order-status flow can include the following dialogs:
- Message dialog: The bot starts the conversation with an initial greeting. For example, "Hi! I'm here to help you track your order."
- Message dialog with input collection: The dialog can prompt the customer for any inputs. For example, "What's your order number?” and collects the response using an input option.
- Action dialog: Uses the customer's response to look up the order status by order number, for example, via an API.
- Message dialog: Shows the order status to the customer, personalizing the message with the order number or status.
- Redirect using a condition: If the order is delayed, redirects to a fallback dialog that connects the customer to an agent; otherwise, continues to the next dialog.
Add a new dialog
You can add as many dialogs as you need to a single flow. Each dialog contains either a message or an action:
- A message dialog displays content to your customer.
- An action dialog runs an activity for your customer, either in the conversation or in the backend. For more information, see Configure actions in bot flows.
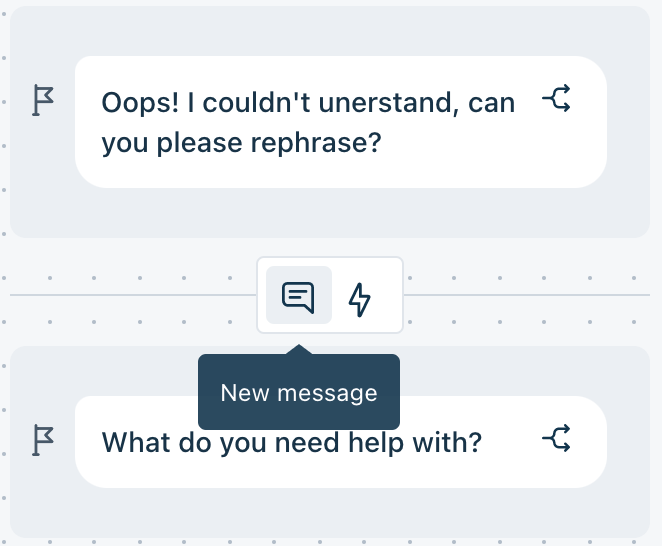
You can also insert new dialogs or actions between two existing dialogs in a flow.
To add a new dialog, follow these steps:
- On the bot builder, select where you want to add the dialog.
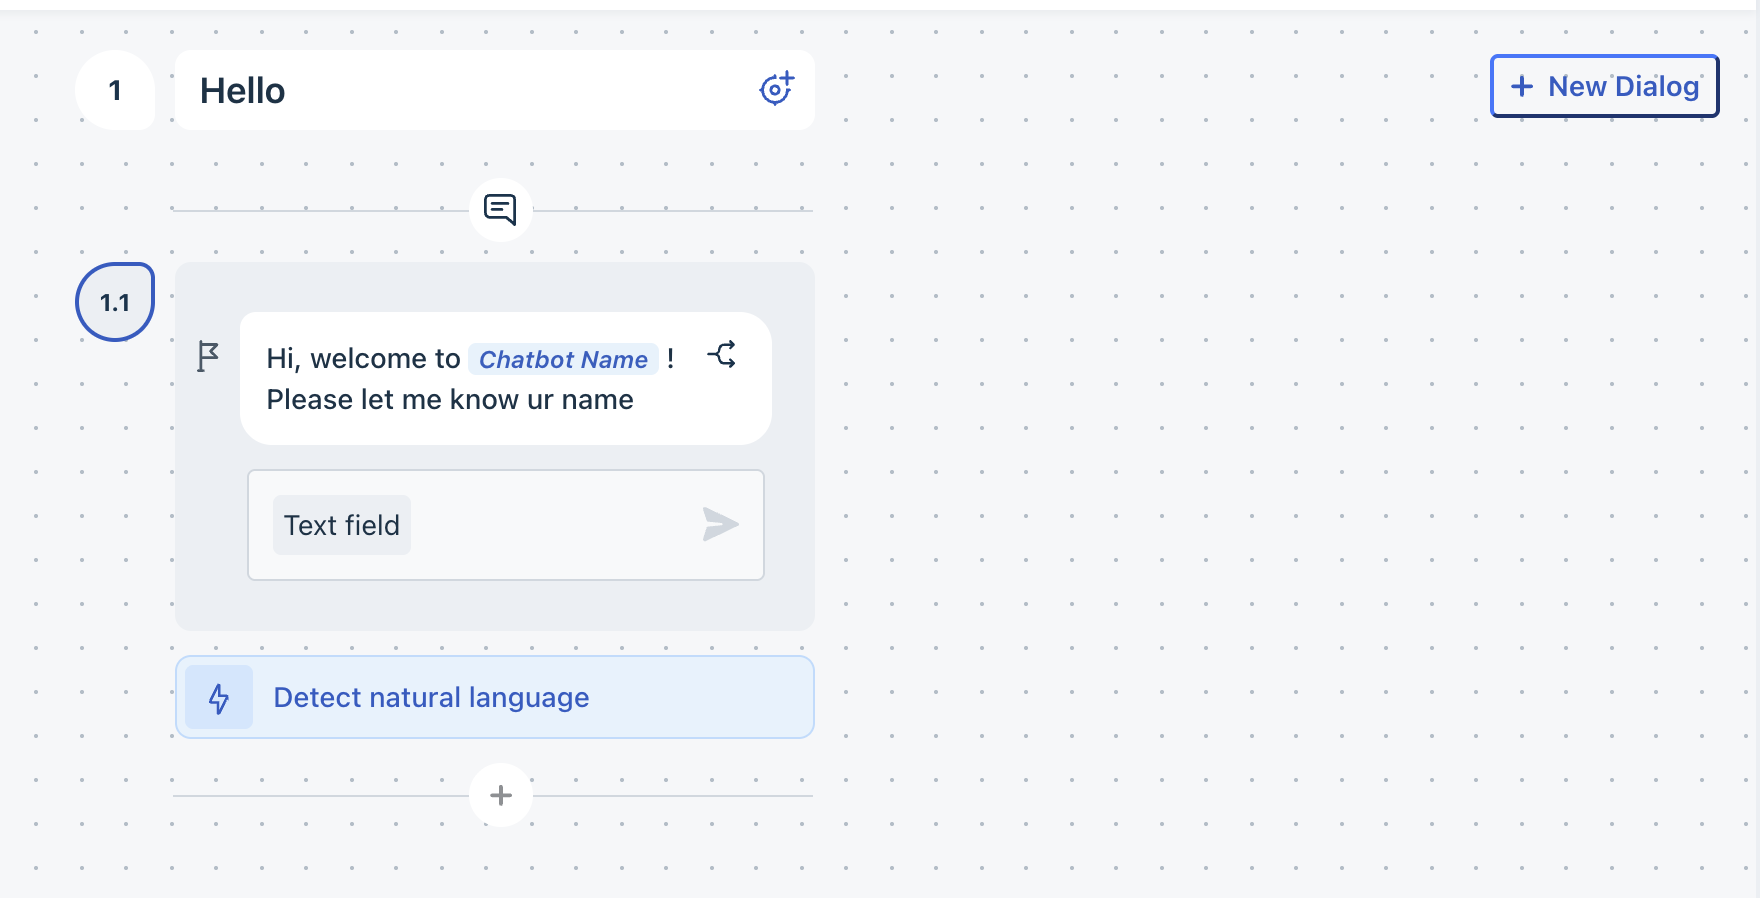
- Click New dialog.
- Choose whether to add a message or an action.
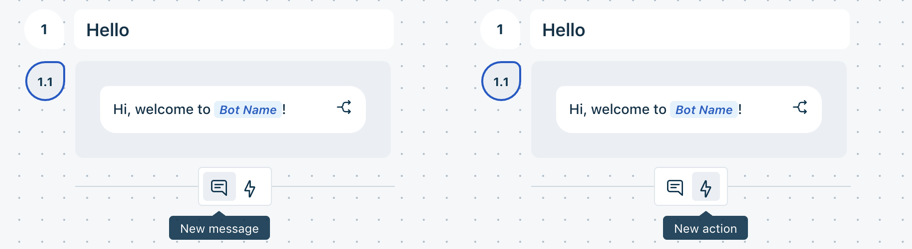
- To insert a dialog between two existing dialogs, select the insertion point between them.
Format dialog content
While adding messages in the dialog, you can use text, images, videos, files, and emojis. You can also format the text using default keyboard shortcuts or the formatting menu, including bold, italics, and more.
The following table shows the different types of rich media that can be used:
Media type | Supported formats | File size limit |
|---|---|---|
Images | .jpg, .jpeg, .png, GIF | Under 25 MB |
Videos | YouTube, Vimeo, Vidyard, Loom, Wistia | Not applicable |
Files | .csv, .doc, .docx, .odt, .pdf, .pps, .ppsx | Under 25 MB |
Note: Rich media renders differently across channels. For details, see Rich media rendering across channels.
To format your message content:
- Click inside the message dialog box to view the different formatting options.
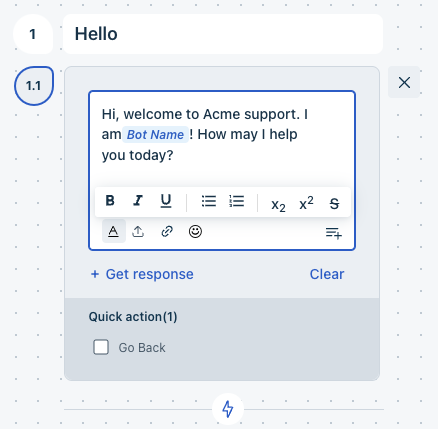
- Use the formatting options to format the content.
- To upload media, click on the upload icon and choose the media type.
For images or files, upload from your local drive or paste a URL. For videos, paste a URL from YouTube, Vimeo, Vidyard, Loom, or Wistia.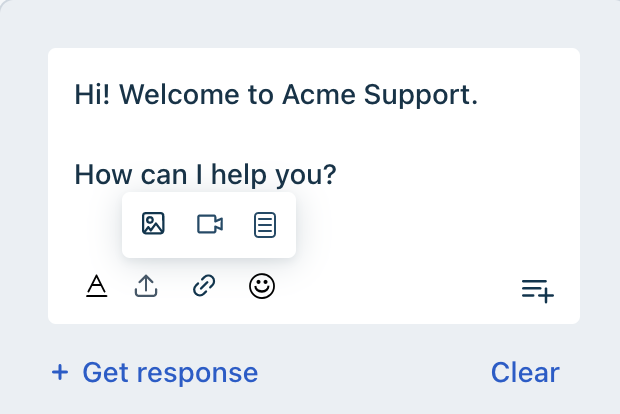
- Click on the emoji icon to add your preferred emoji.
Insert placeholders, APIs, parameters, and functions
You can access placeholders, including APIs, parameters, functions, and references to other dialogs, from the icon in the bottom-right corner of the dialog editor.
To insert additional details:
- Click the plus icon in the bottom-right corner of the dialog editor.
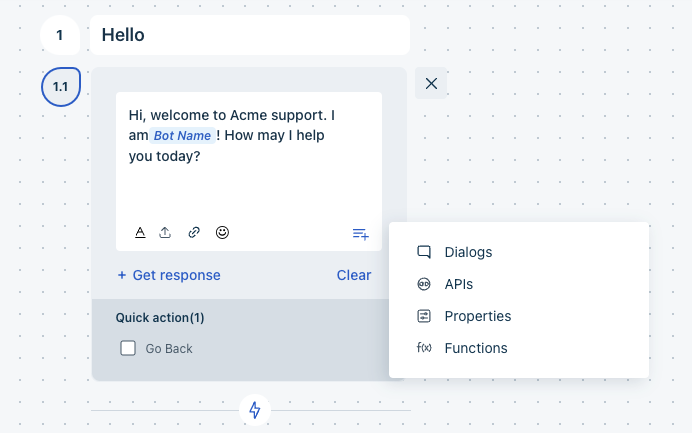
- Select an existing placeholder — an API, parameter, function, or another dialog.
- If no suitable placeholder exists, select the option to create a new API, parameter, or function.
Collect input from customers
Configure a dialog to collect customer information during a conversation. Customer responses can be used in later dialogs, passed to APIs, or evaluated in conditions to personalize the conversation.
For example, you can configure a dialog to collect the customer's order ID and use it to retrieve and display the corresponding order details.
To add an input field:
- Open the required dialog.
- Click Get Response.
- Select the appropriate input type.
- Configure the field properties.
- Save the dialog.
For more details, see Explore different input options.
Manage dialog options
You can modify dialogs at any time during your chatbot flow design. Hover over a dialog to access the following options:
Delete
Permanently remove the dialog from the flow.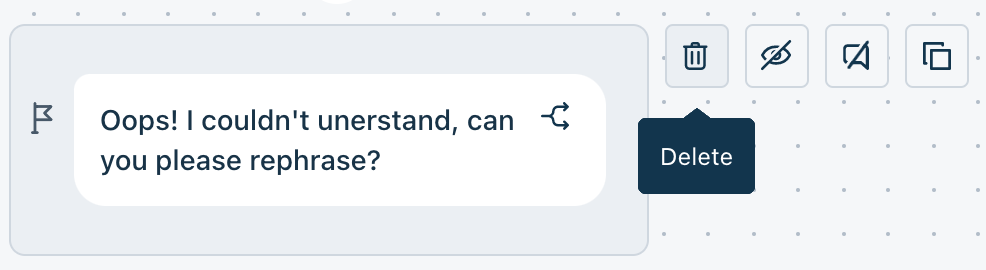
The bot builder prevents you from deleting components that are used elsewhere in the bot. This includes dialogs, custom properties, APIs, and API parameters. A validation message lists the components that will be affected. Remove the dependencies before deleting the component.
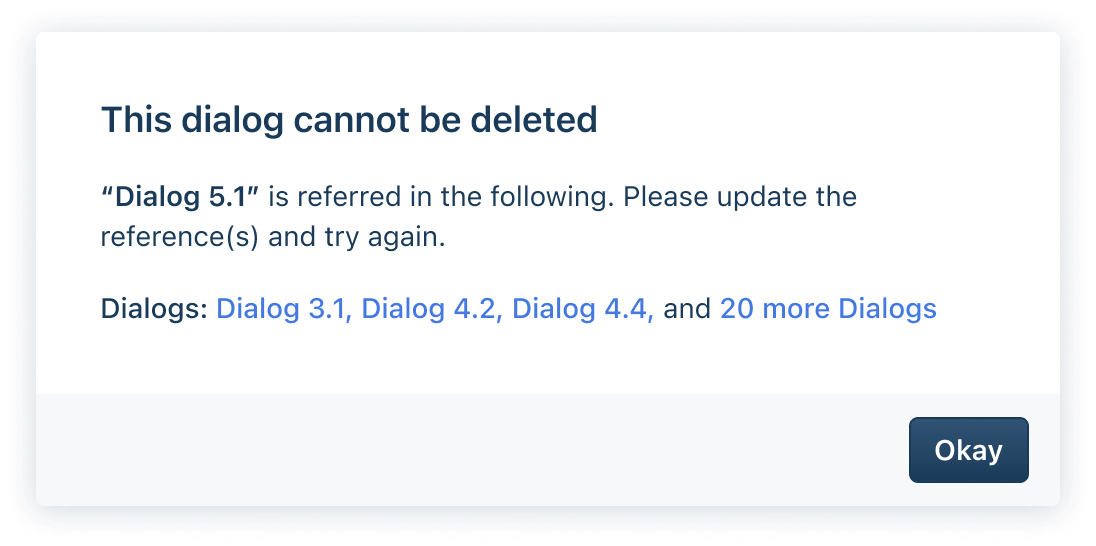
Note: Deletion validation does not apply to quick actions or Integration APIs.
Make private
Keep the dialog visible internally, but hide it from customers. You can differentiate between regular dialogs, private dialogs, and inactive dialogs using the tags added to them.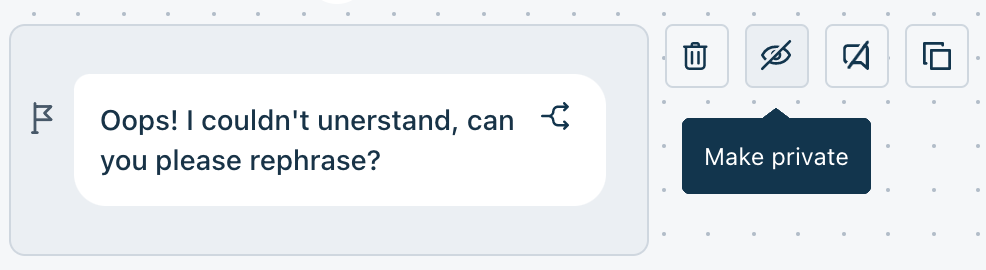
Make inactive
Deactivate the dialog. You can reactivate it later.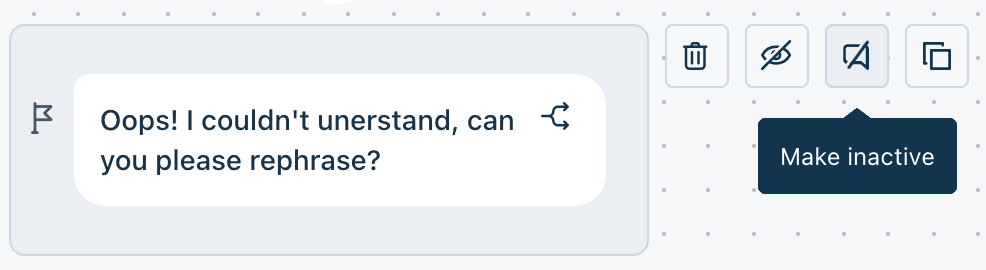
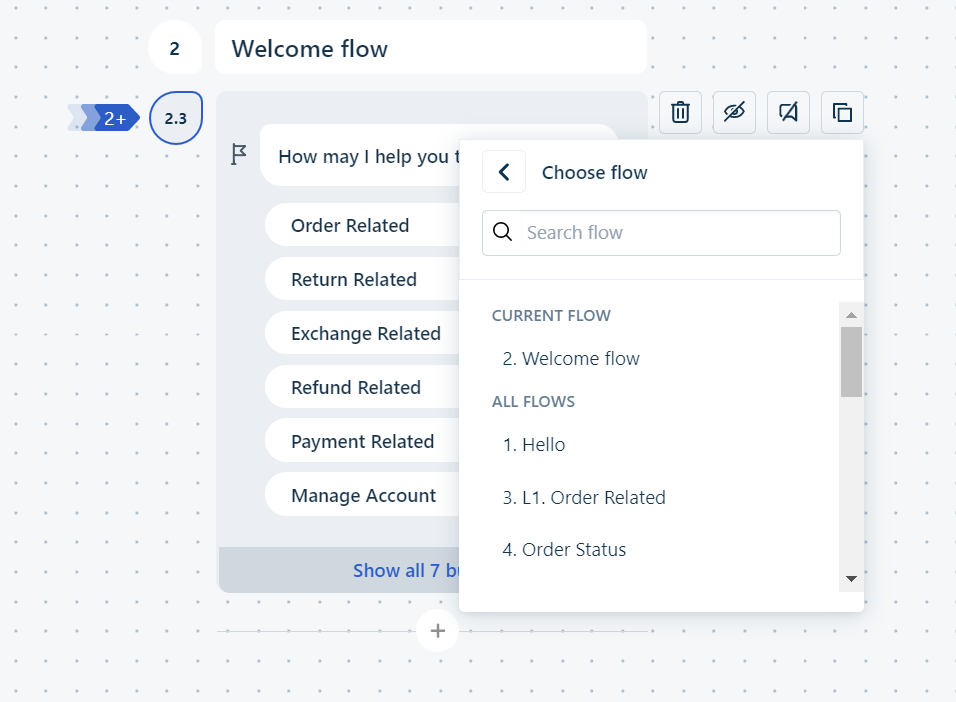
Clone
Duplicate the dialog. You can choose which parts of it — text, input options, actions, conditions, and quick actions.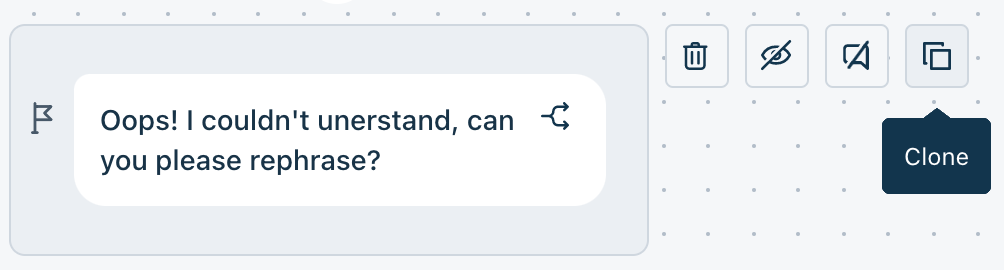
- When you clone a dialog, the text is selected by default. You can choose other entities of the dialog to clone along with the dialog text.
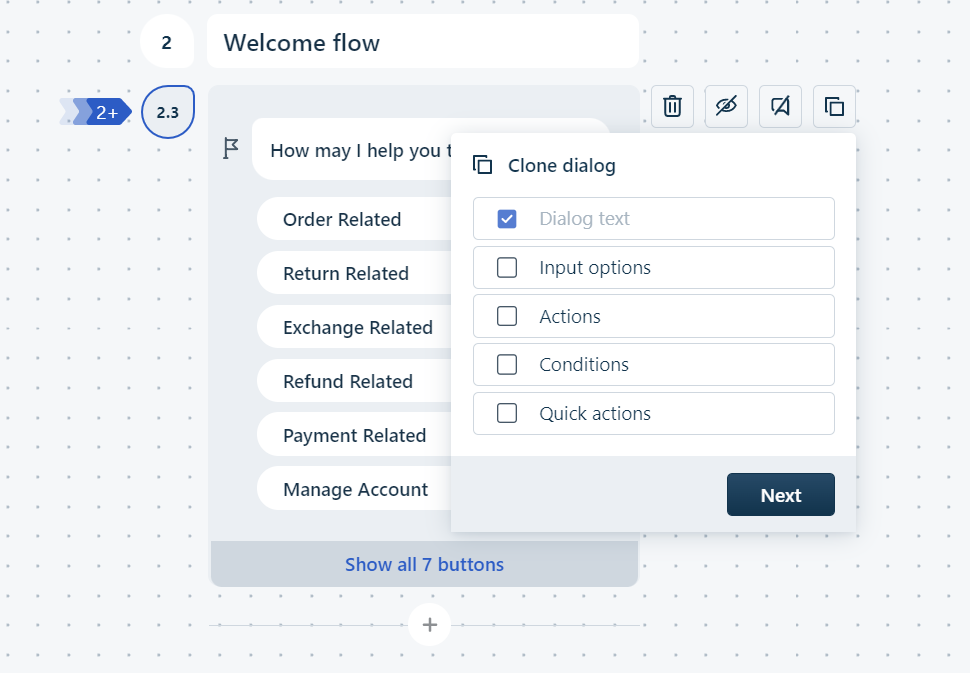
- Next, select the destination flow to clone the dialog. This dialog will be the latest dialog on the chosen destination flow.
You can also differentiate between regular dialogs, private dialogs, and inactive dialogs as private and inactive dialogs will have tags to identify them.

Note: Inactive dialogs cannot be cloned.