 Community
 Video Library
 Agent Training
 Freshservice
 Freshdesk
 Freshchat
 Freshcaller
 Freshsales
 Freshteam
 Freshworks Neo
 Freshsurvey
 Free
Free Growth Omnichannel
TABLE OF CONTENTS
- About the ticket details interface
- Quick list view
- Ticket conversation pane
- Properties pane
- Additional info pane
About the ticket details interface
As an agent, you may spend most of your time on the Ticket Details page. It brings together everything you need to manage and resolve customer queries in one place. From here, you can reply to customers, track progress, and access important context about the ticket.
When you open a ticket from the Ticket List view (Inbox), you will see the following view.
The Ticket details page is organized into the following sections: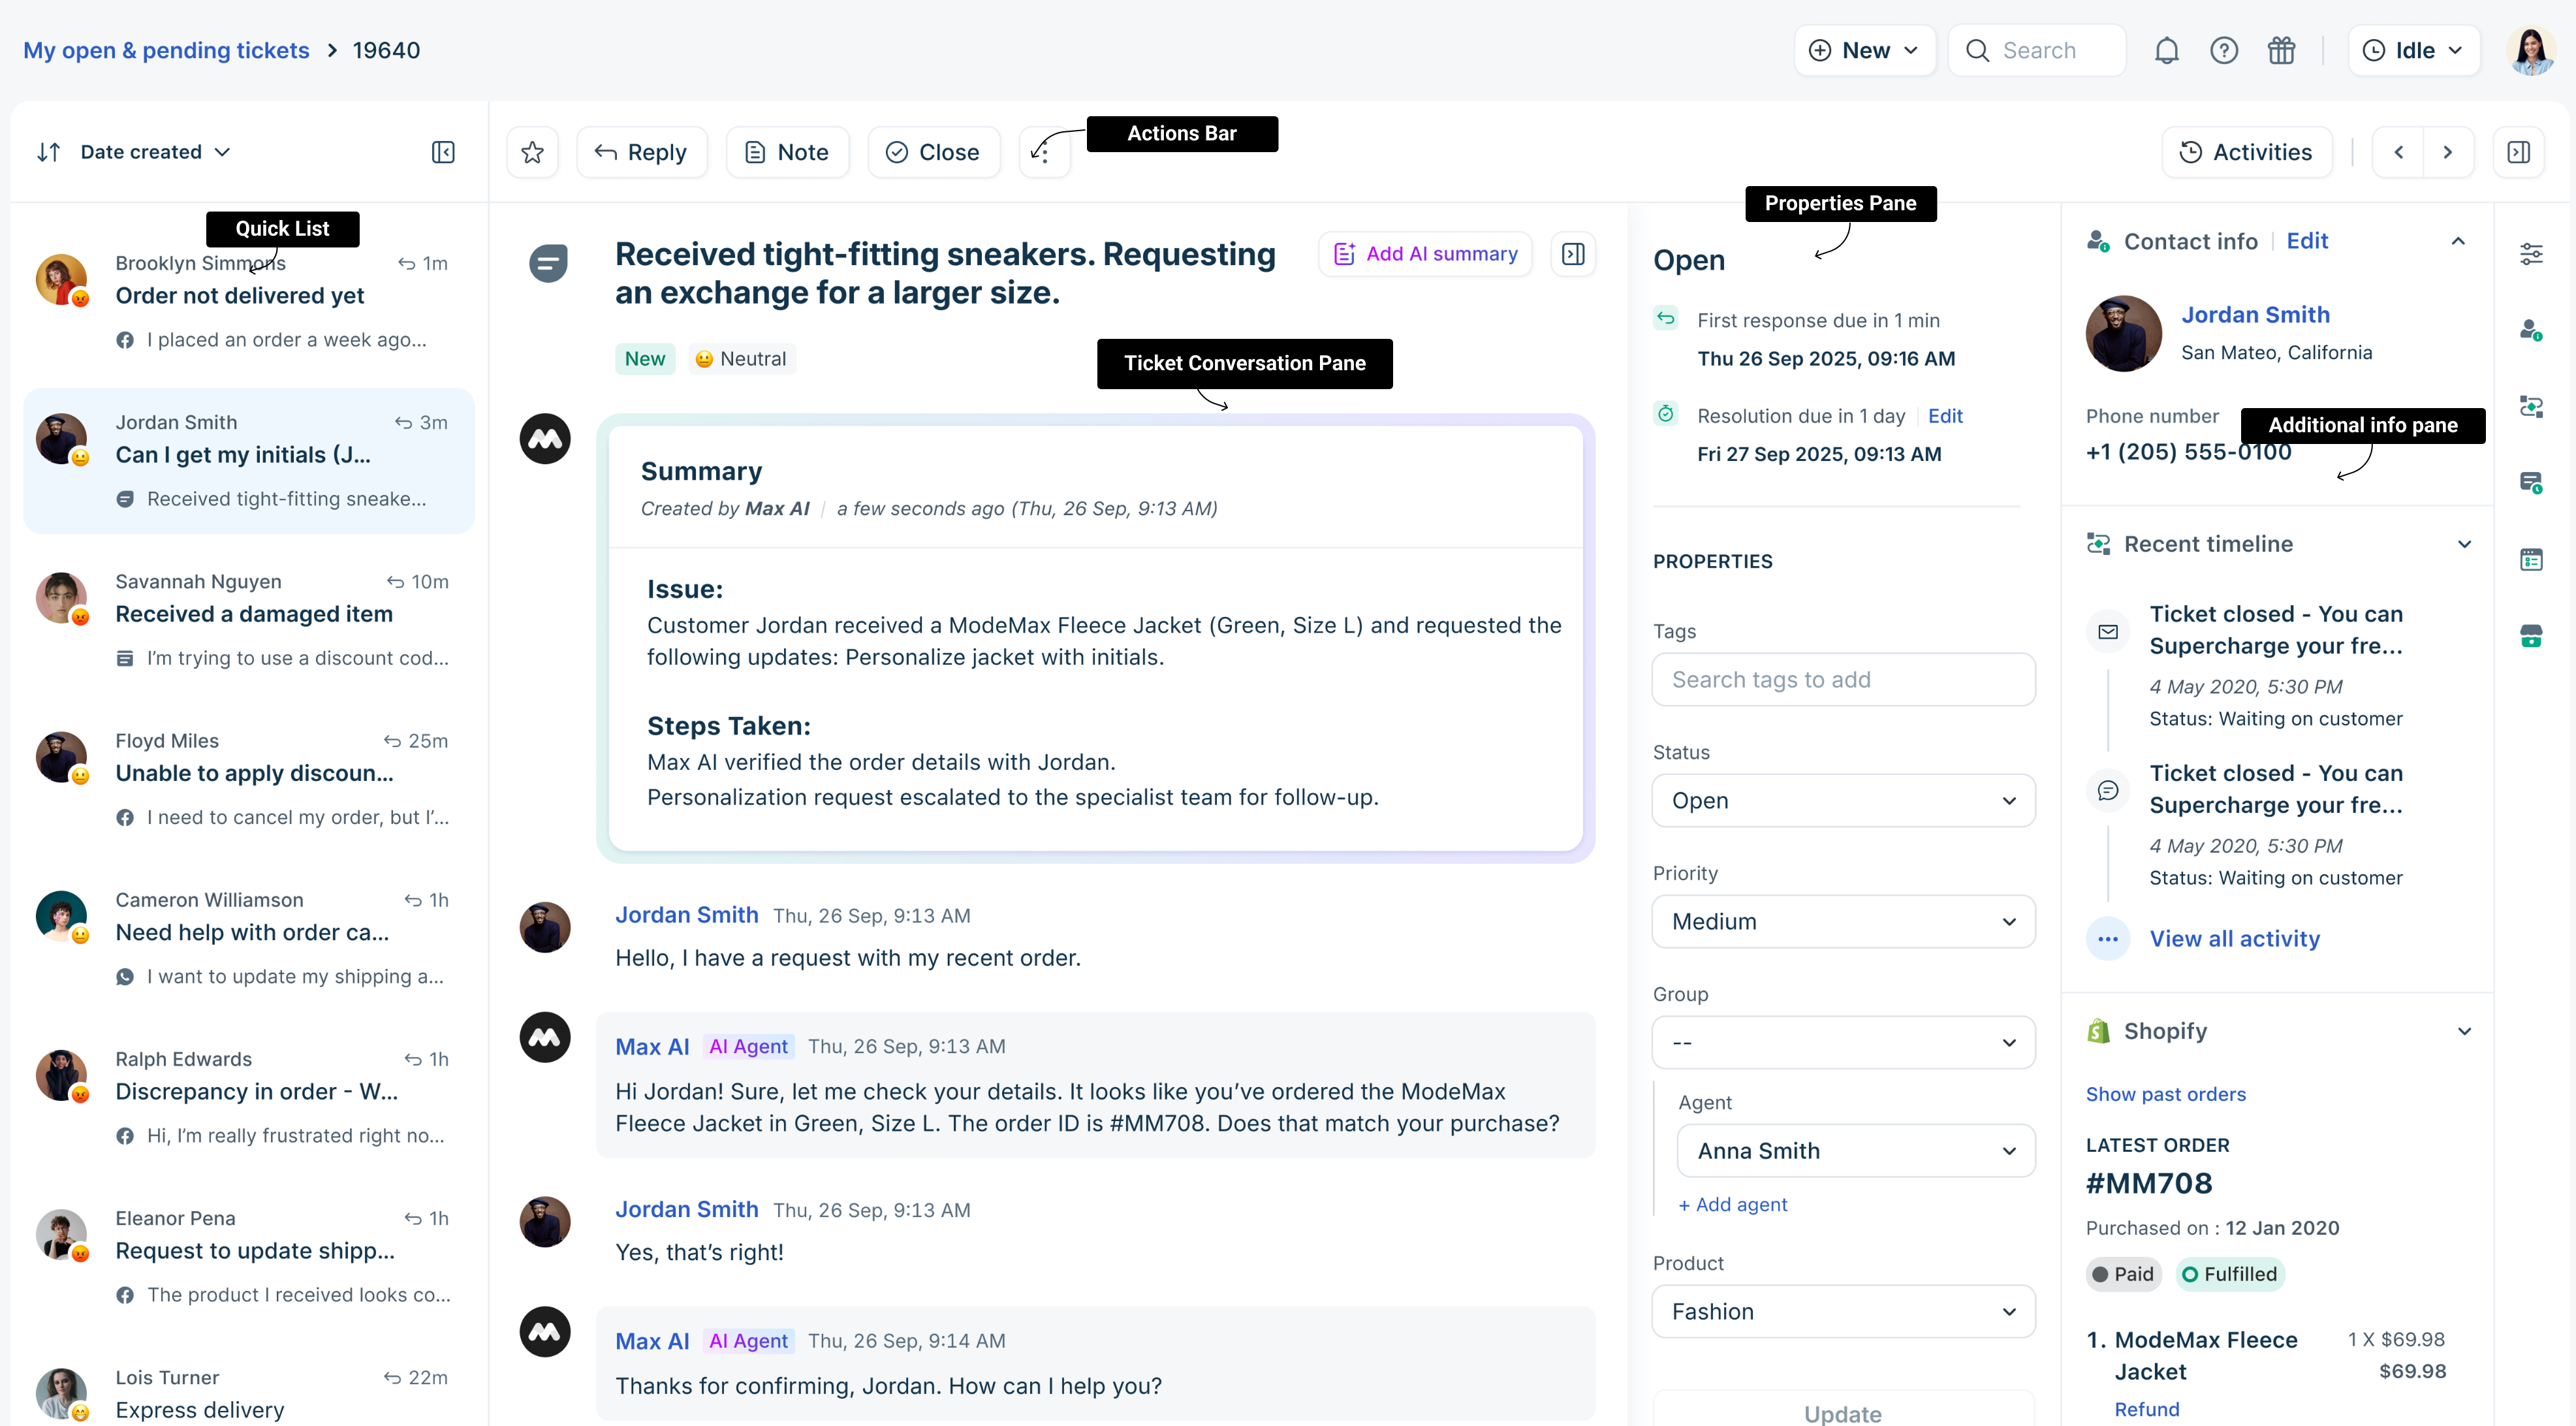
| Section | Purpose |
|---|---|
Quick list |
|
Ticket conversation pane |
|
Properties pane |
|
Additional info panel | View and manage additional information associated with a ticket, such as contact details and other connected apps. You can collapse and expand the panel as required. |
Action bar | Perform ticket actions, reply to tickets, add notes, forward tickets, execute scenarios, and more. |
Quick list view
The quick list provides a sidebar view that displays multiple tickets simultaneously, allowing you to navigate between them without leaving the Details page. This feature becomes valuable as you handle larger volumes of tickets or work on complex issues that span multiple related cases. You can expand and collapse the view as needed.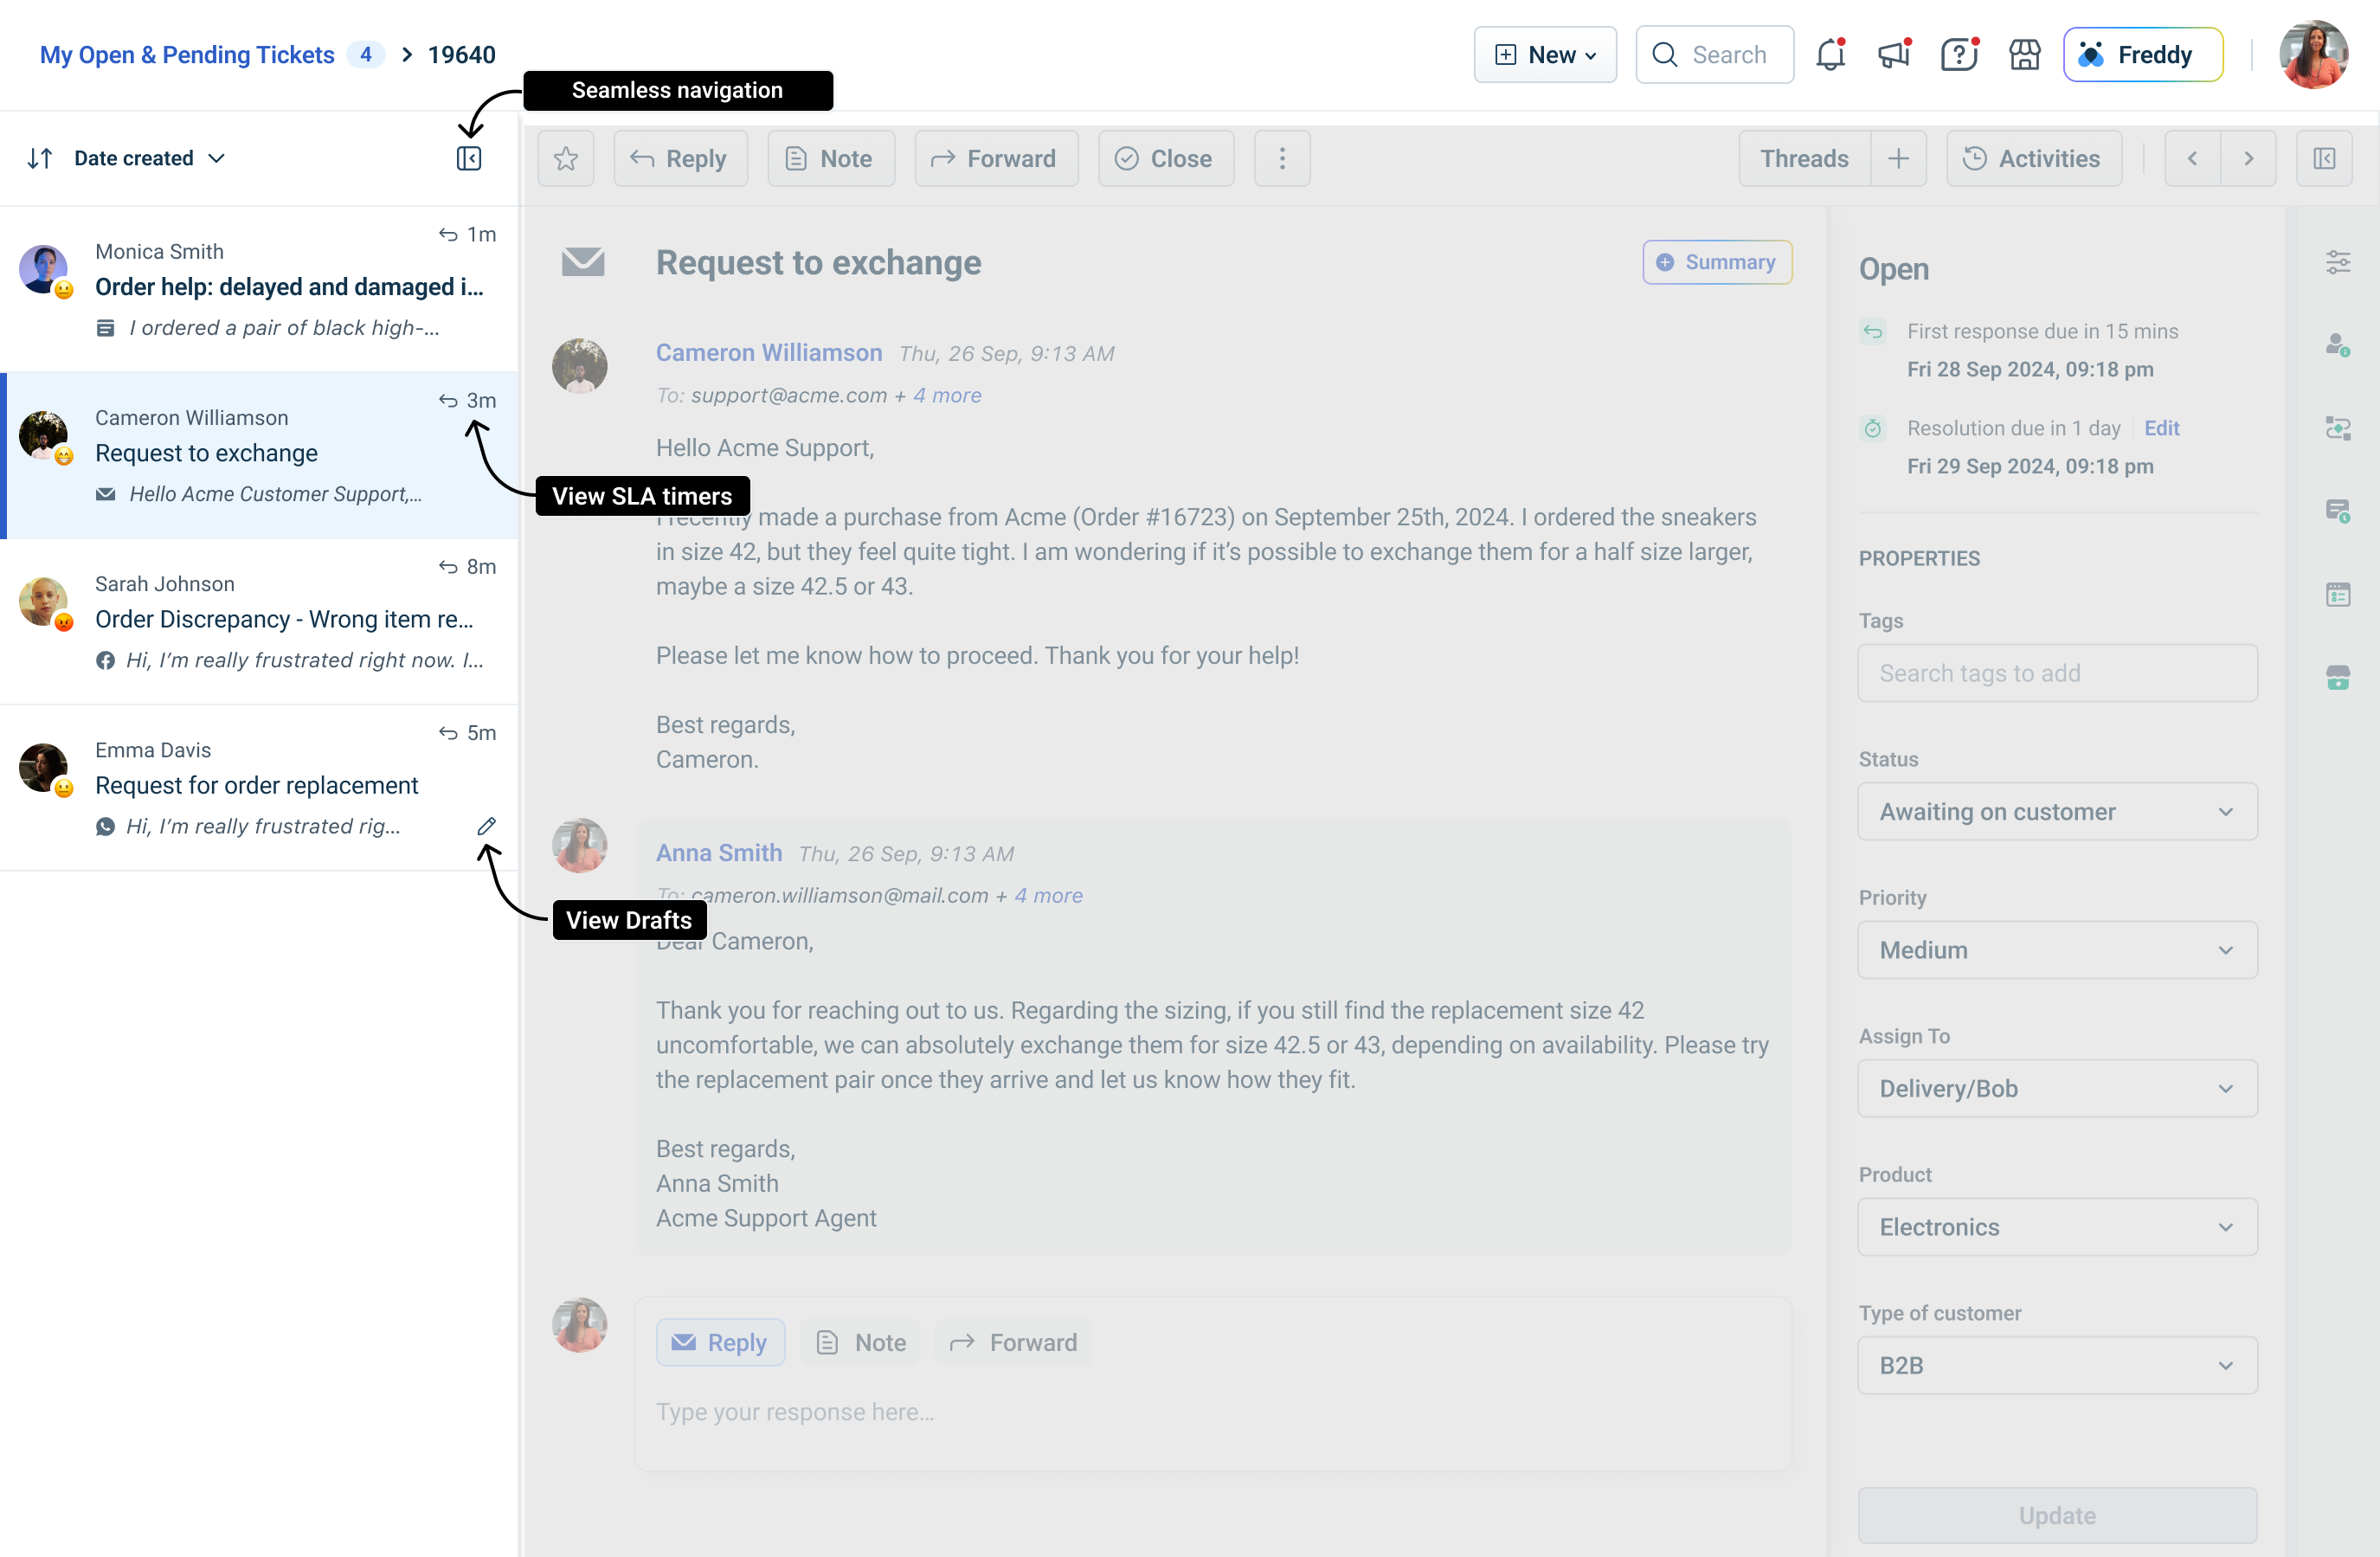
With this feature, you can:
- View tickets side by side: You can easily view multiple tickets simultaneously while focusing on a specific one. This allows for quick comparisons and better context.
- Navigate seamlessly: Switch between tickets without leaving the ticket details page and automatically return to the last saved Quick List view across sessions. This helps you pick up where you left off and maintain continuity in your work.
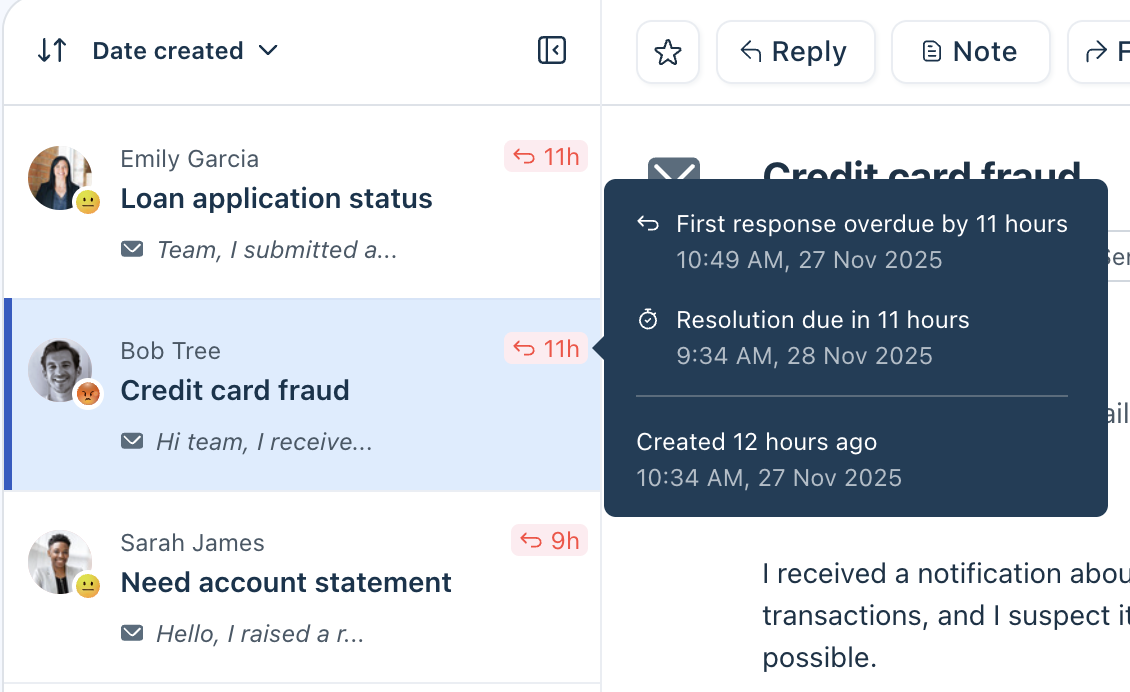
- Quickly view SLAs: Stay informed with SLA timers for first response, next response, and resolution right next to each ticket. This visibility helps ensure you meet your service level commitments.
- View ticket source: Easily identify the ticket source - Email, Webchat, or social channel.
- Receive and view real-time messages and tickets
View the incoming messages from all support channels (email, Web Chat, social media) in real-time as they are received.- The message list will be updated automatically to reflect new messages.
- If the quick list is collapsed, the expand icon will show an indicator with a count to denote that there are unattended tickets
Ticket conversation pane
The ticket conversation pane displays the complete conversation history for a ticket in chronological order, starting with the customer’s initial message.
You can see customer replies, responses from other agents, AI Agent conversations, internal notes added by teammates, any ticket activity - all in one place to help you easily understand the full context of the conversation. The view refreshes automatically in real time as new messages arrive and ensures that you always have the most updated information.
Here’s what you can do:
- Sort conversations: Sort conversations by old or new
- Use auto-generated AI summary: Get a quick, editable summary of the conversation (visible only to agents).
- Perform ticket actions:
- Important ticket actions: reply, add notes, forward
- Advanced actions: execute scenarios, merge tickets
Sort conversations
By default, the messages are organized with the oldest message displayed first. However, you can change this setting.
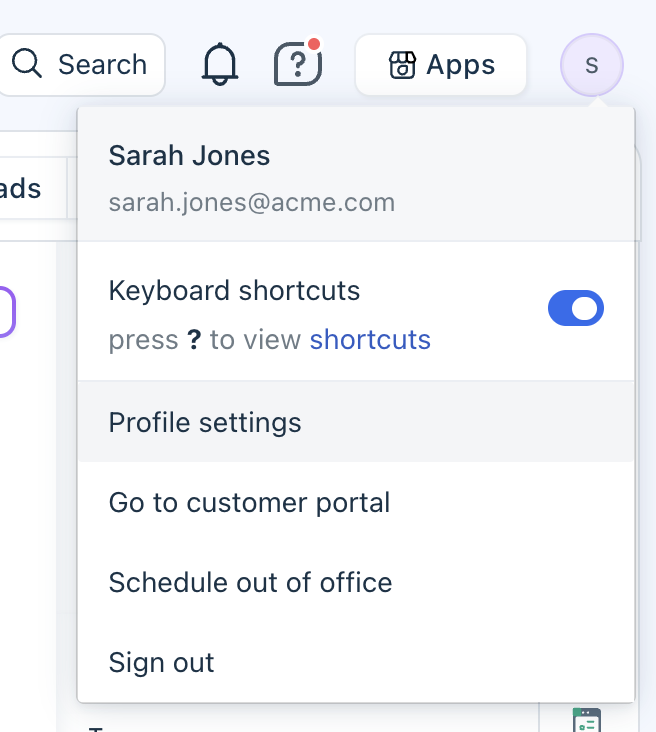
- Click on your profile in the top right corner.
- Select Profile settings.
- Change the Sort conversations order from the dropdown.
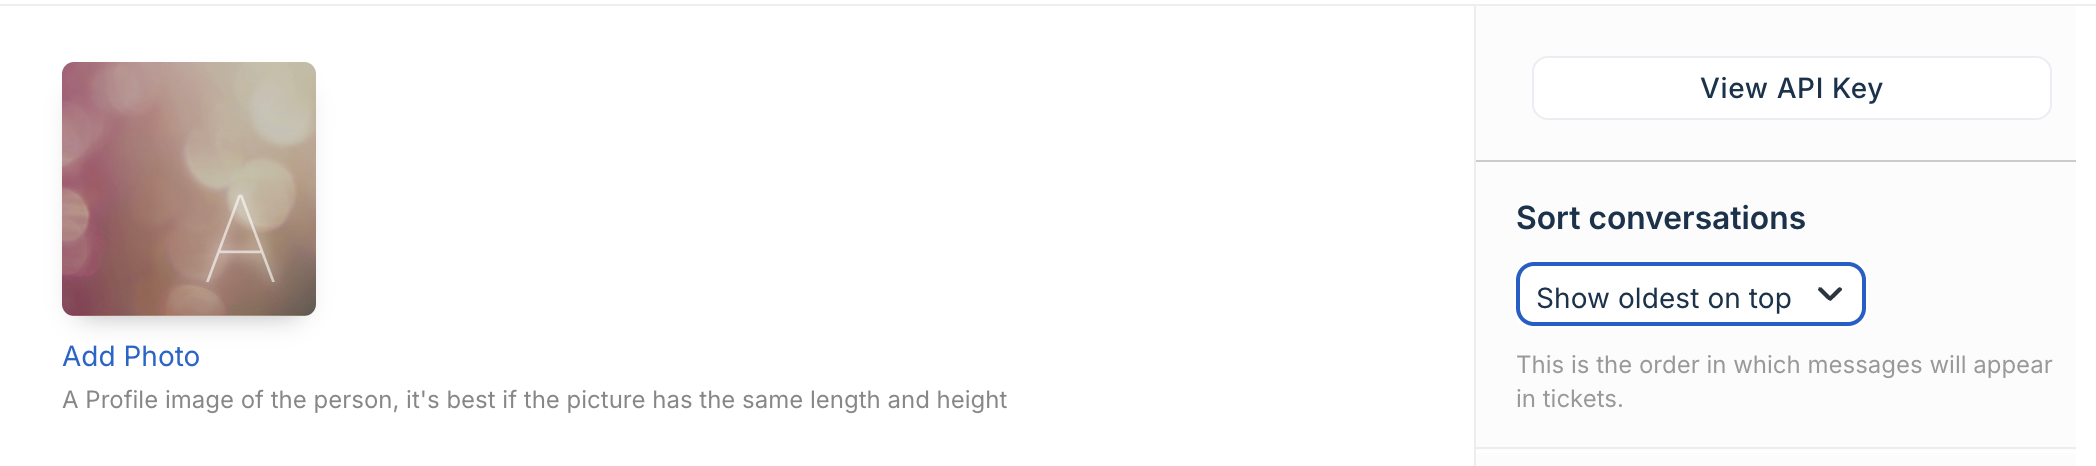
- Click Save.
Use AI-generated ticket summary
The ticket summary feature, powered by Freddy, automatically generates a brief summary of the ticket conversation. This summary is visible only to agents as a private note. You can edit and save the generated summary, and allow other agents to understand the necessary context when they view the ticket.
Note: This feature is enabled by default. However, admins can disable it from Help Desk Settings.
To auto-generate a ticket summary:
- Click on the Add AI summary icon to expand the section. You will see the automatically generated text.
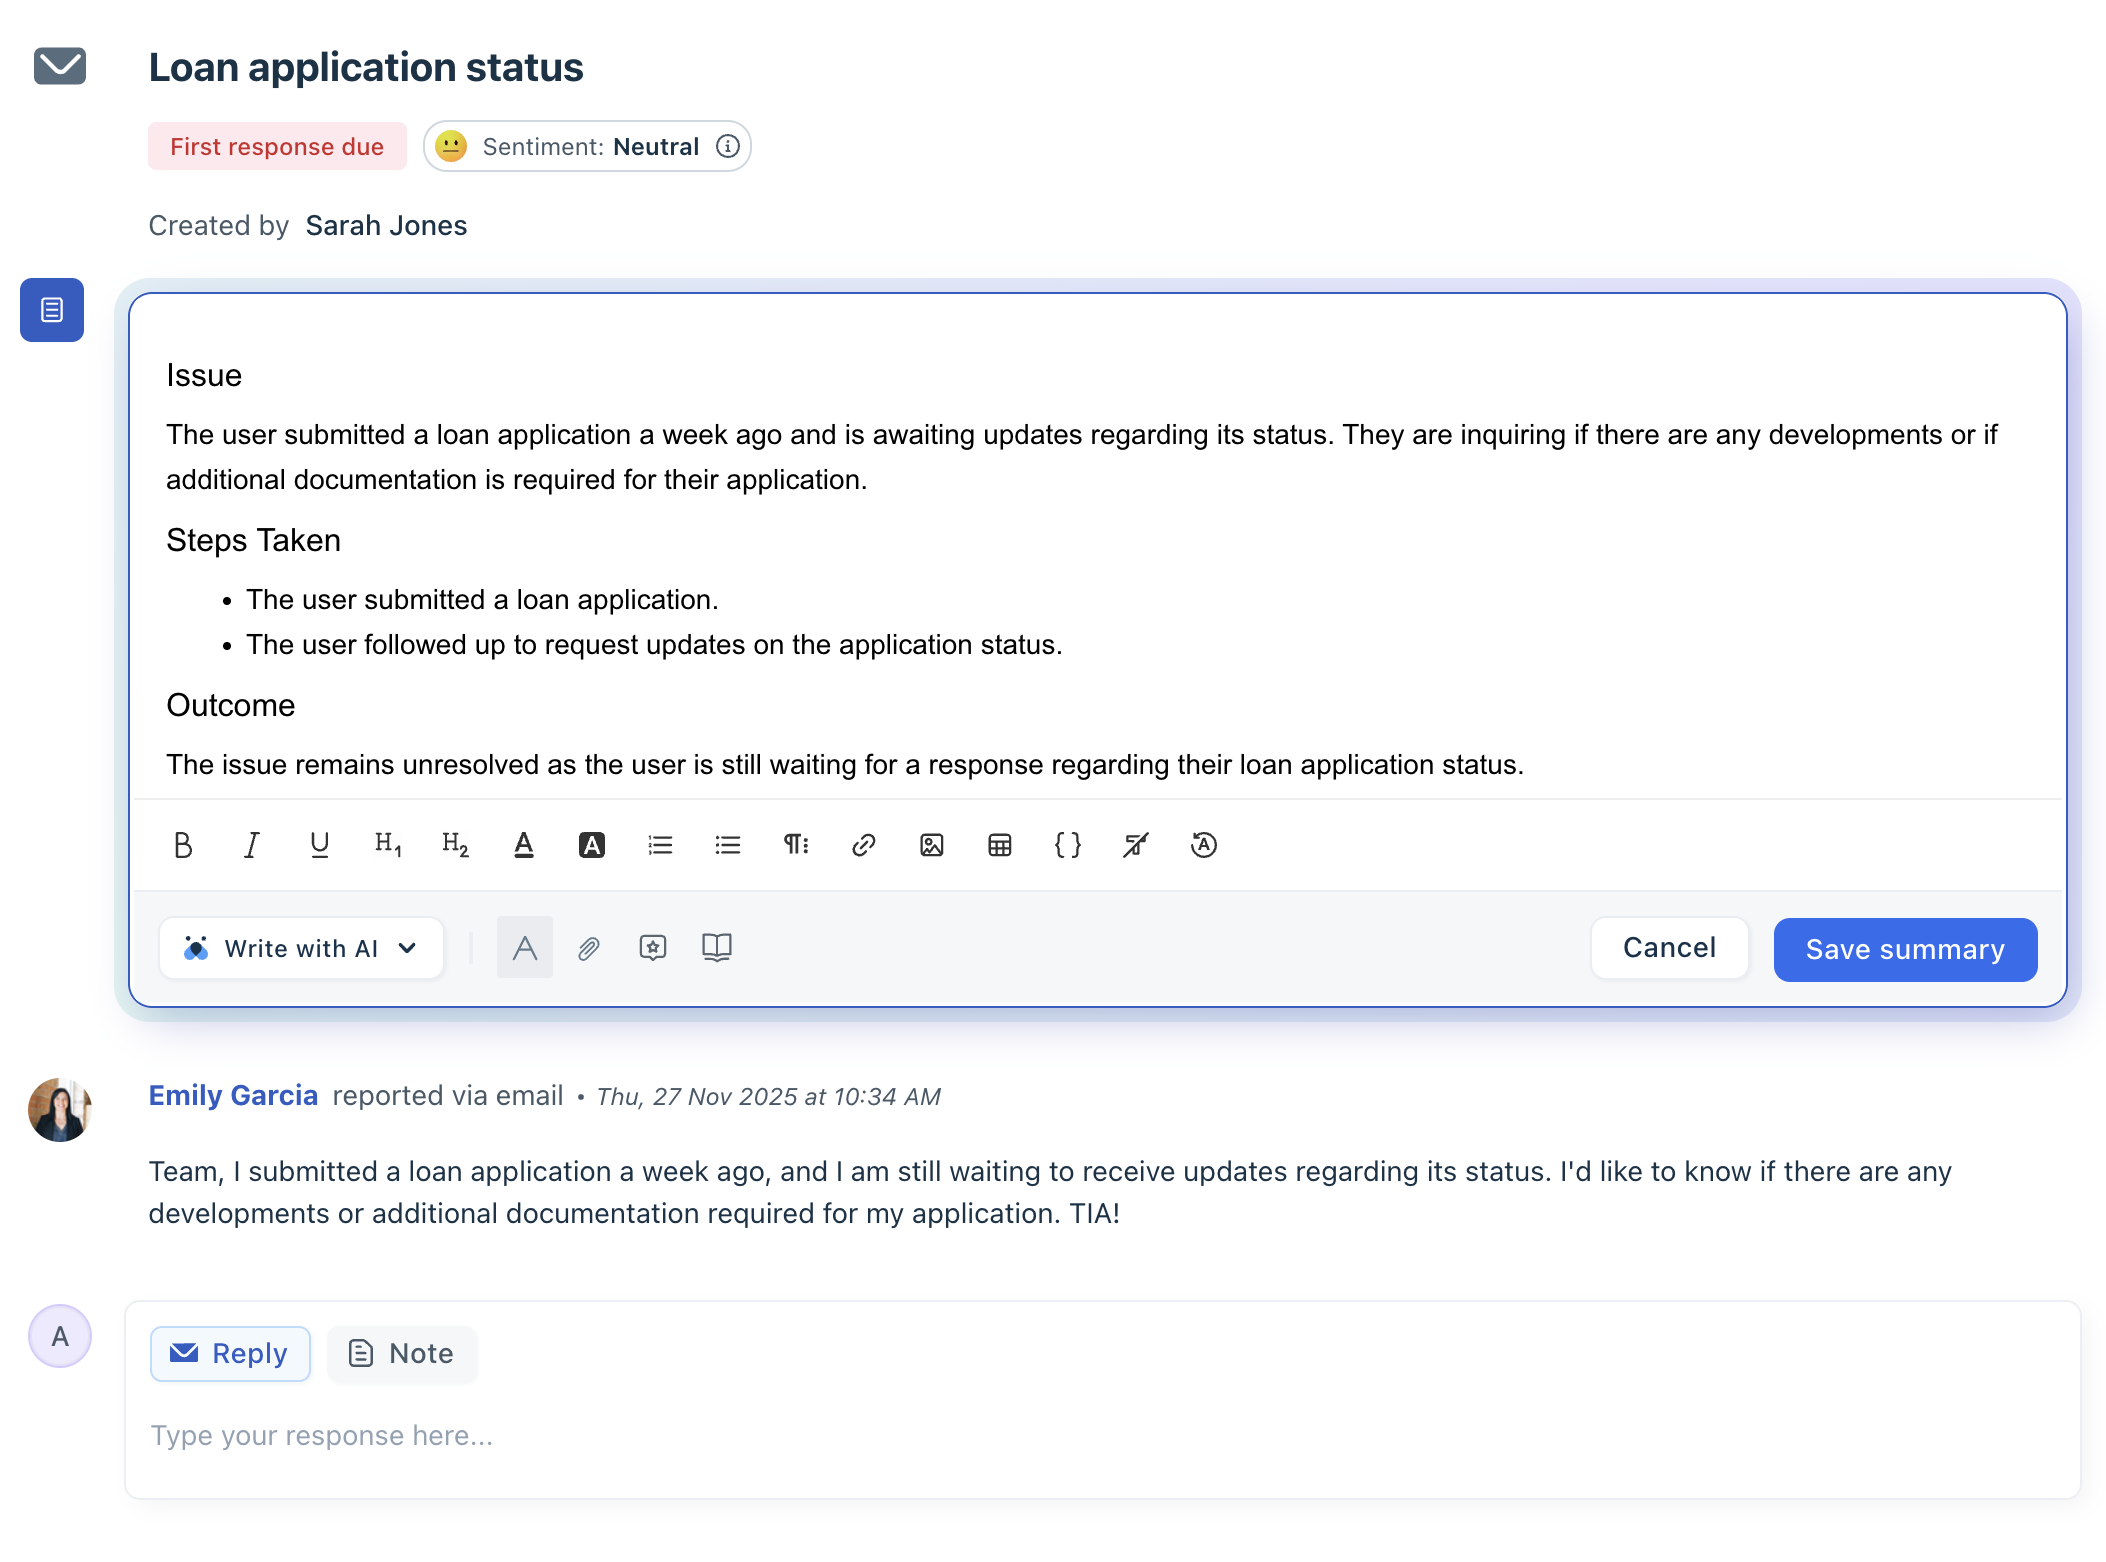
- You can edit the summary, add attachments, use canned responses, format the text, and then save it.
- Once saved, other agents will be able to view the summary.
Perform ticket actions
Use the Actions bar to perform various ticket actions like responding to customer issues, adding private notes, and starting threaded discussions. You can also perform advanced actions, such as executing scenarios.
For more details, see Perform ticket actions.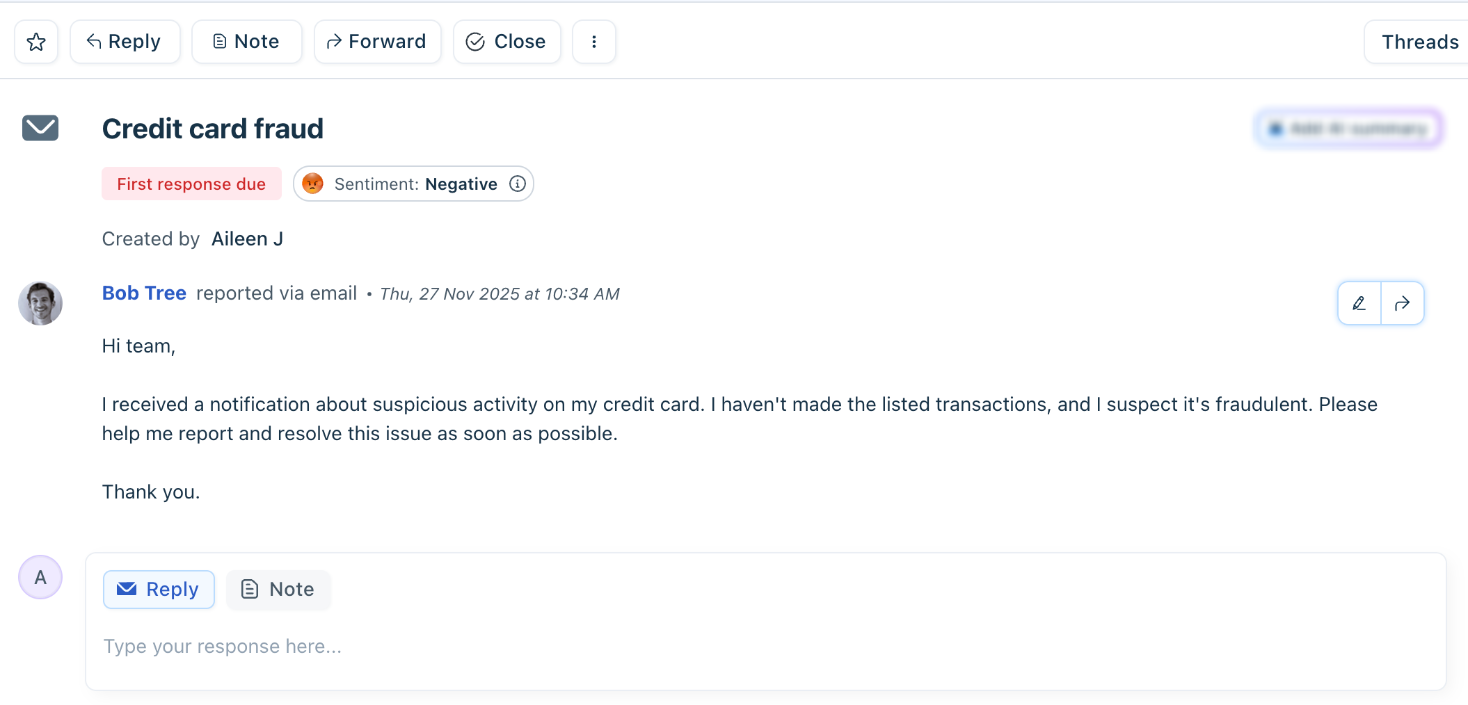
For clear visibility, you can view the important actions at the top and bottom of the ticket:
- Reply
- Note
- Forward
- Close
- Watch (available only at the top)
To view more (advanced) ticket actions, click on the three dots. With this option, you can:
- Execute scenarios
- Merge tickets
- Convert ticket to forum topic
- Log time
- Edit ticket details
- Print ticket
- Delete ticket
- Mark ticket as spam
For detailed information on each action, see Manage Tickets.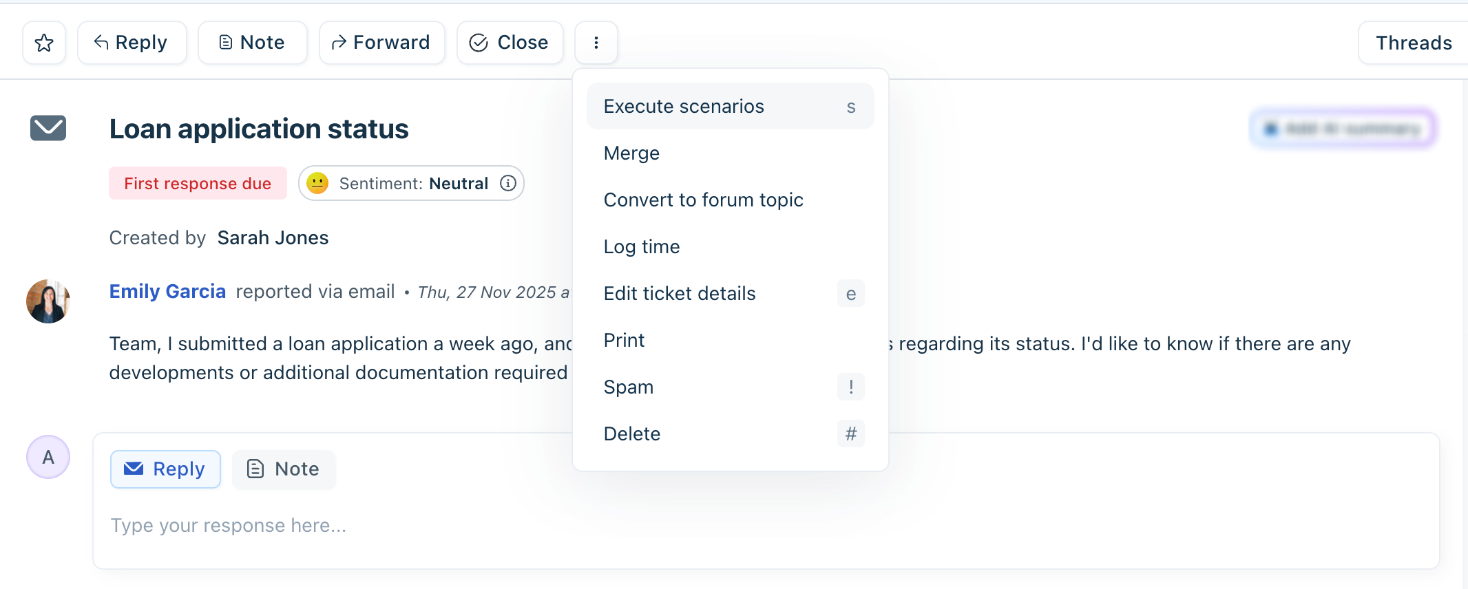
Properties pane
The properties pane lets you view and modify the ticket properties. For example, you can add tags, change ticket priority, status, assign the ticket to a different group or agent, and more. You can expand and collapse the properties pane as required.
Tip: Always check the SLA timers here; they tell you which tickets need attention first.
The default list of ticket properties available:
Property | Description |
| SLA timers | Check the SLA time to quickly view the ticket's first response and resolution deadline. This helps you identify tickets that are close to violating the SLA. |
Tags | Add tags or labels to easily organize and find your tickets. You can use tags to categorize issues by product area, problem type, or customer segment. For details, see Using Tags. |
Status | Track and update the ticket’s current state. Default statuses are:
Admins can create custom ticket statuses using Ticket Fields and set visibility rules based on them. |
Priority | View and change ticket priorities. The default ticket priority can be set to Low, High, Medium, or Urgent. |
Group/Agent | Assign tickets to another group or agent. |
Additionally, the properties pane can show options if more custom fields and ticket fields are added.
Additional info pane
The Additional Info pane gives you extra context about the ticket and the requester. It can be expanded or collapsed depending on your workflow. For example, you can view the contact (customer/company) details and linked third-party apps.
This includes:
Contact details
- View contact details such as name, email, company, and phone numbers.
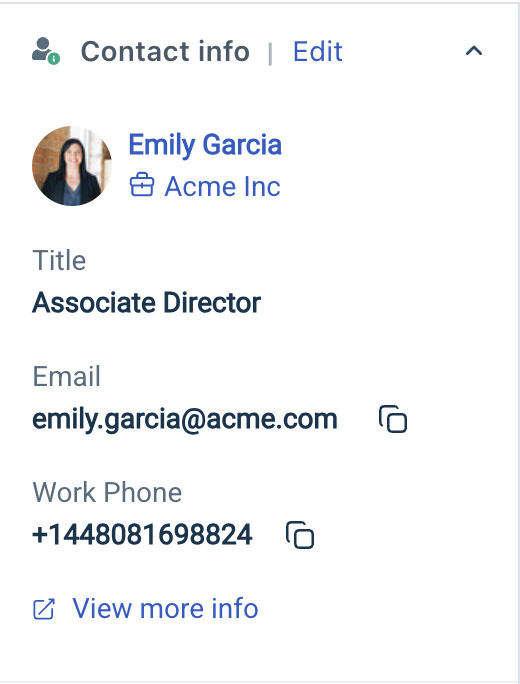
- Click edit contact details link to update basic contact details. You cannot edit the requester’s email address here; however, you can do it from the Contacts page instead.
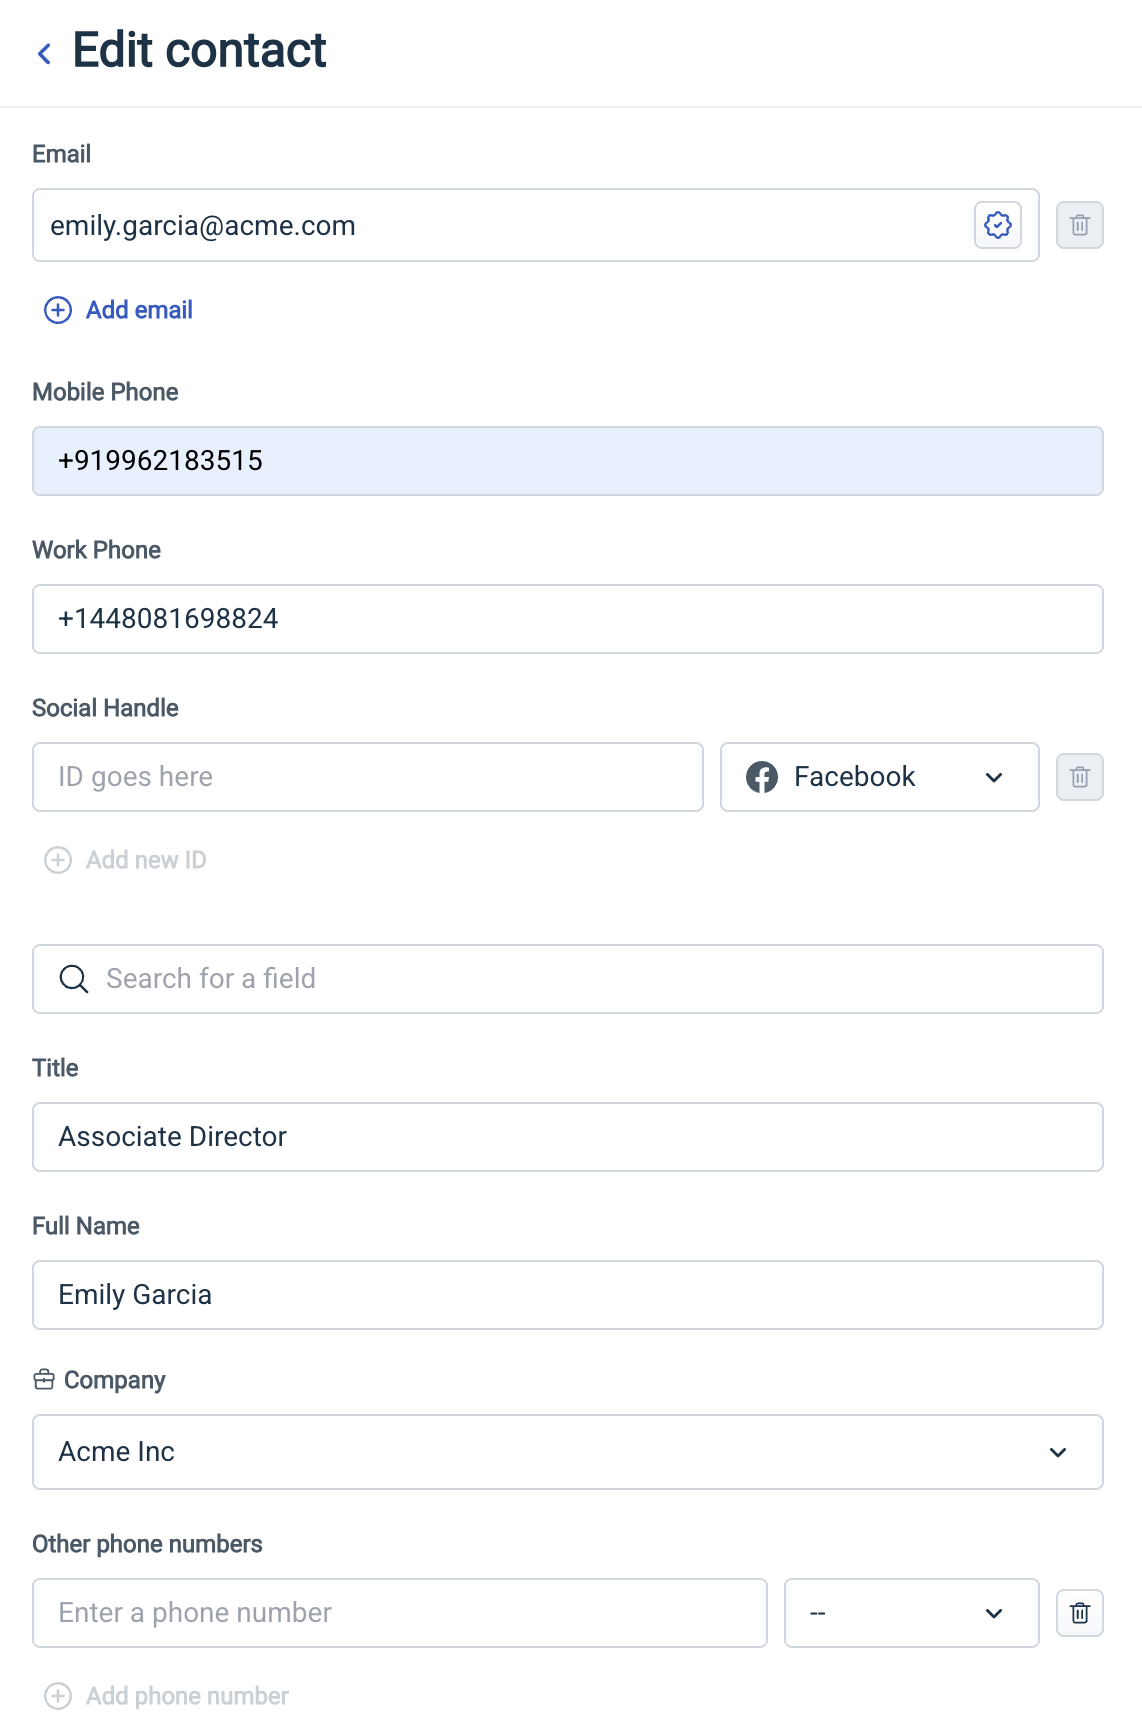
- Click View more info to open the details on the Contacts page.
Note: Admins can customize the Contact Details widget to surface the most relevant information to agents.
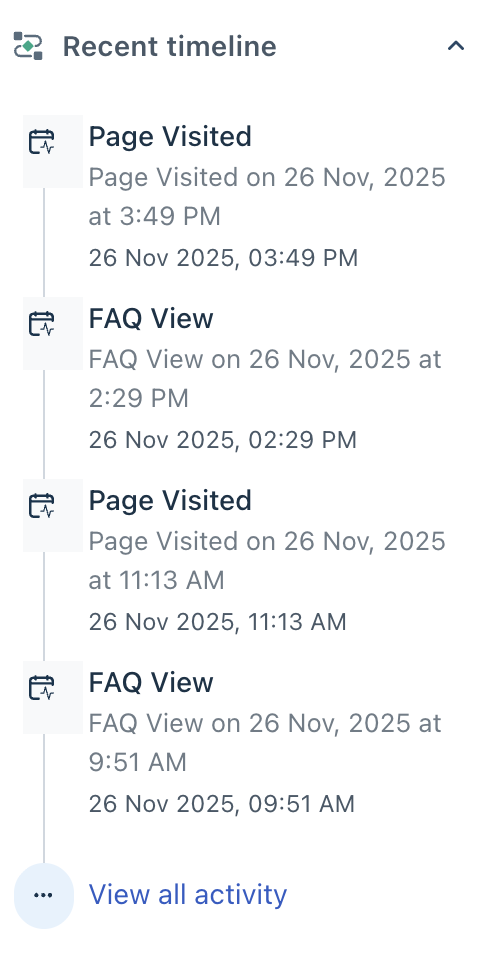
Recent timeline
- Shows recent tickets by the requester
- Helps you understand the requester’s journey through the product. Click View all activity to see the complete timeline.
Linked Tickets
- If the Linked Tickets feature is enabled, shows all tickets linked to the current one.
- You can link tickets to an existing tracker or create a new tracker.
For more details, see Creating and Linking a Tracker.
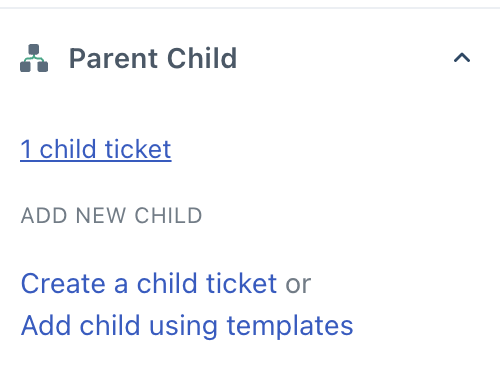
Parent Child Tickets
- If enabled, shows the associated parent or child tickets.
- If you do not have any related tickets, you can directly create a child ticket, add a child ticket using a template, or link to a parent ticket.
The Time Logs widget
View the time logs tracked on the ticket. See How to Track Time on a Ticket.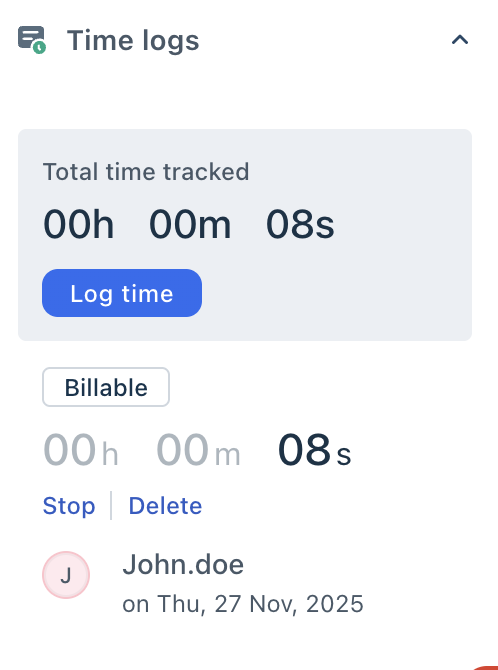
To-do widget
- Helps you break down the ticket into smaller tasks.
- Tasks are visible to all agents with access to the ticket, but also appear on your personal Dashboard.
You can use the To-Do widget in the following ways:
- Type a task and press Enter.
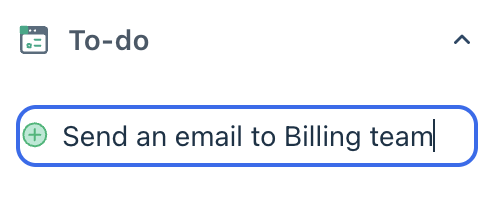
- Once added, anyone with ticket access can view it.
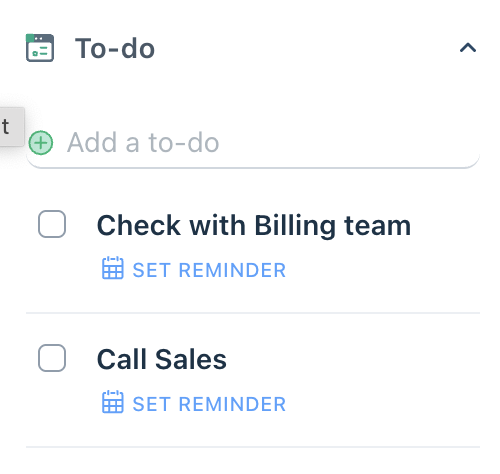
- Hover to Edit or Delete tasks.
- To receive an alert for a particular task, click the Set Reminder option, choose a date and time, and click Save.
- You must enable Desktop notifications for Freshdesk to receive the alert.
- You'll also receive a consolidated email from Freshdesk for items due on a particular day.
- To mark an item as done, click the checkbox next to it. You can uncheck marked items at any time.
Other actions
In addition to the primary components, the Ticket Details page also includes shortcuts to other action features:
- Initiate threads
With Threads, you can discuss a topic in a chat-like interface inside the ticket without cluttering the body. For details, see Organize internal conversations with Threads.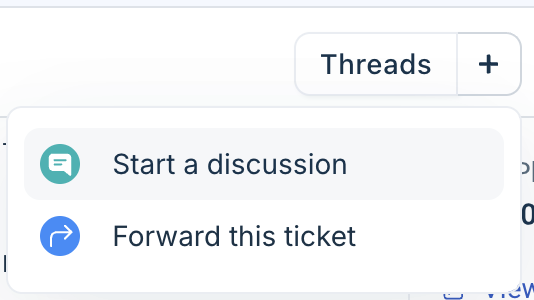
- Show/Hide activities
Displays a comprehensive log of all the activities that have happened on a ticket. For more details, see Viewing Ticket Activity History.
- Navigation buttons
Click Previous or Next to move to the previous or next ticket in the list, respectively.